 Photo by Roland Lopez | @hawkeyebonsai_dharmawolf
Hello! My name is Roland Lopez. I’ve been a bonsai practitioner for almost 3 years now. I love collecting trees and also purchasing material to craft into a miniature representation of trees in nature. I also love starting them from seed! Creating bonsai from seed means from the very beginning...
that you’re in this for the long haul. The time it will take for this tree to be a “complete” bonsai can be anywhere between 10, 15, or 20 years. Maybe longer, but that depends on your diligence and techniques. Starting a tree from a seed is an exciting, fascinating and rewarding endeavor. I’ve just started this journey myself, so I’m no expert, but along the journey, I've already experienced failure, which leads to success. And sometimes, things worked out the first go around. I’d like to share these discoveries with you. I would also love to learn from you as well! Let’s start from the beginning - obtaining the seeds!
 Photo by Roland Lopez | @hawkeyebonsai_dharmawolf
Seed Hunting
One of the great things about starting bonsai from seed is that it’s CHEAP!!! In fact, it can be absolutely free. If there are desirable tree species in your area, you can collect seeds at the appropriate time, which is in the fall. Just make sure you’re not trespassing wherever you are collecting.
 Photo by Roland Lopez | @hawkeyebonsai_dharmawolf
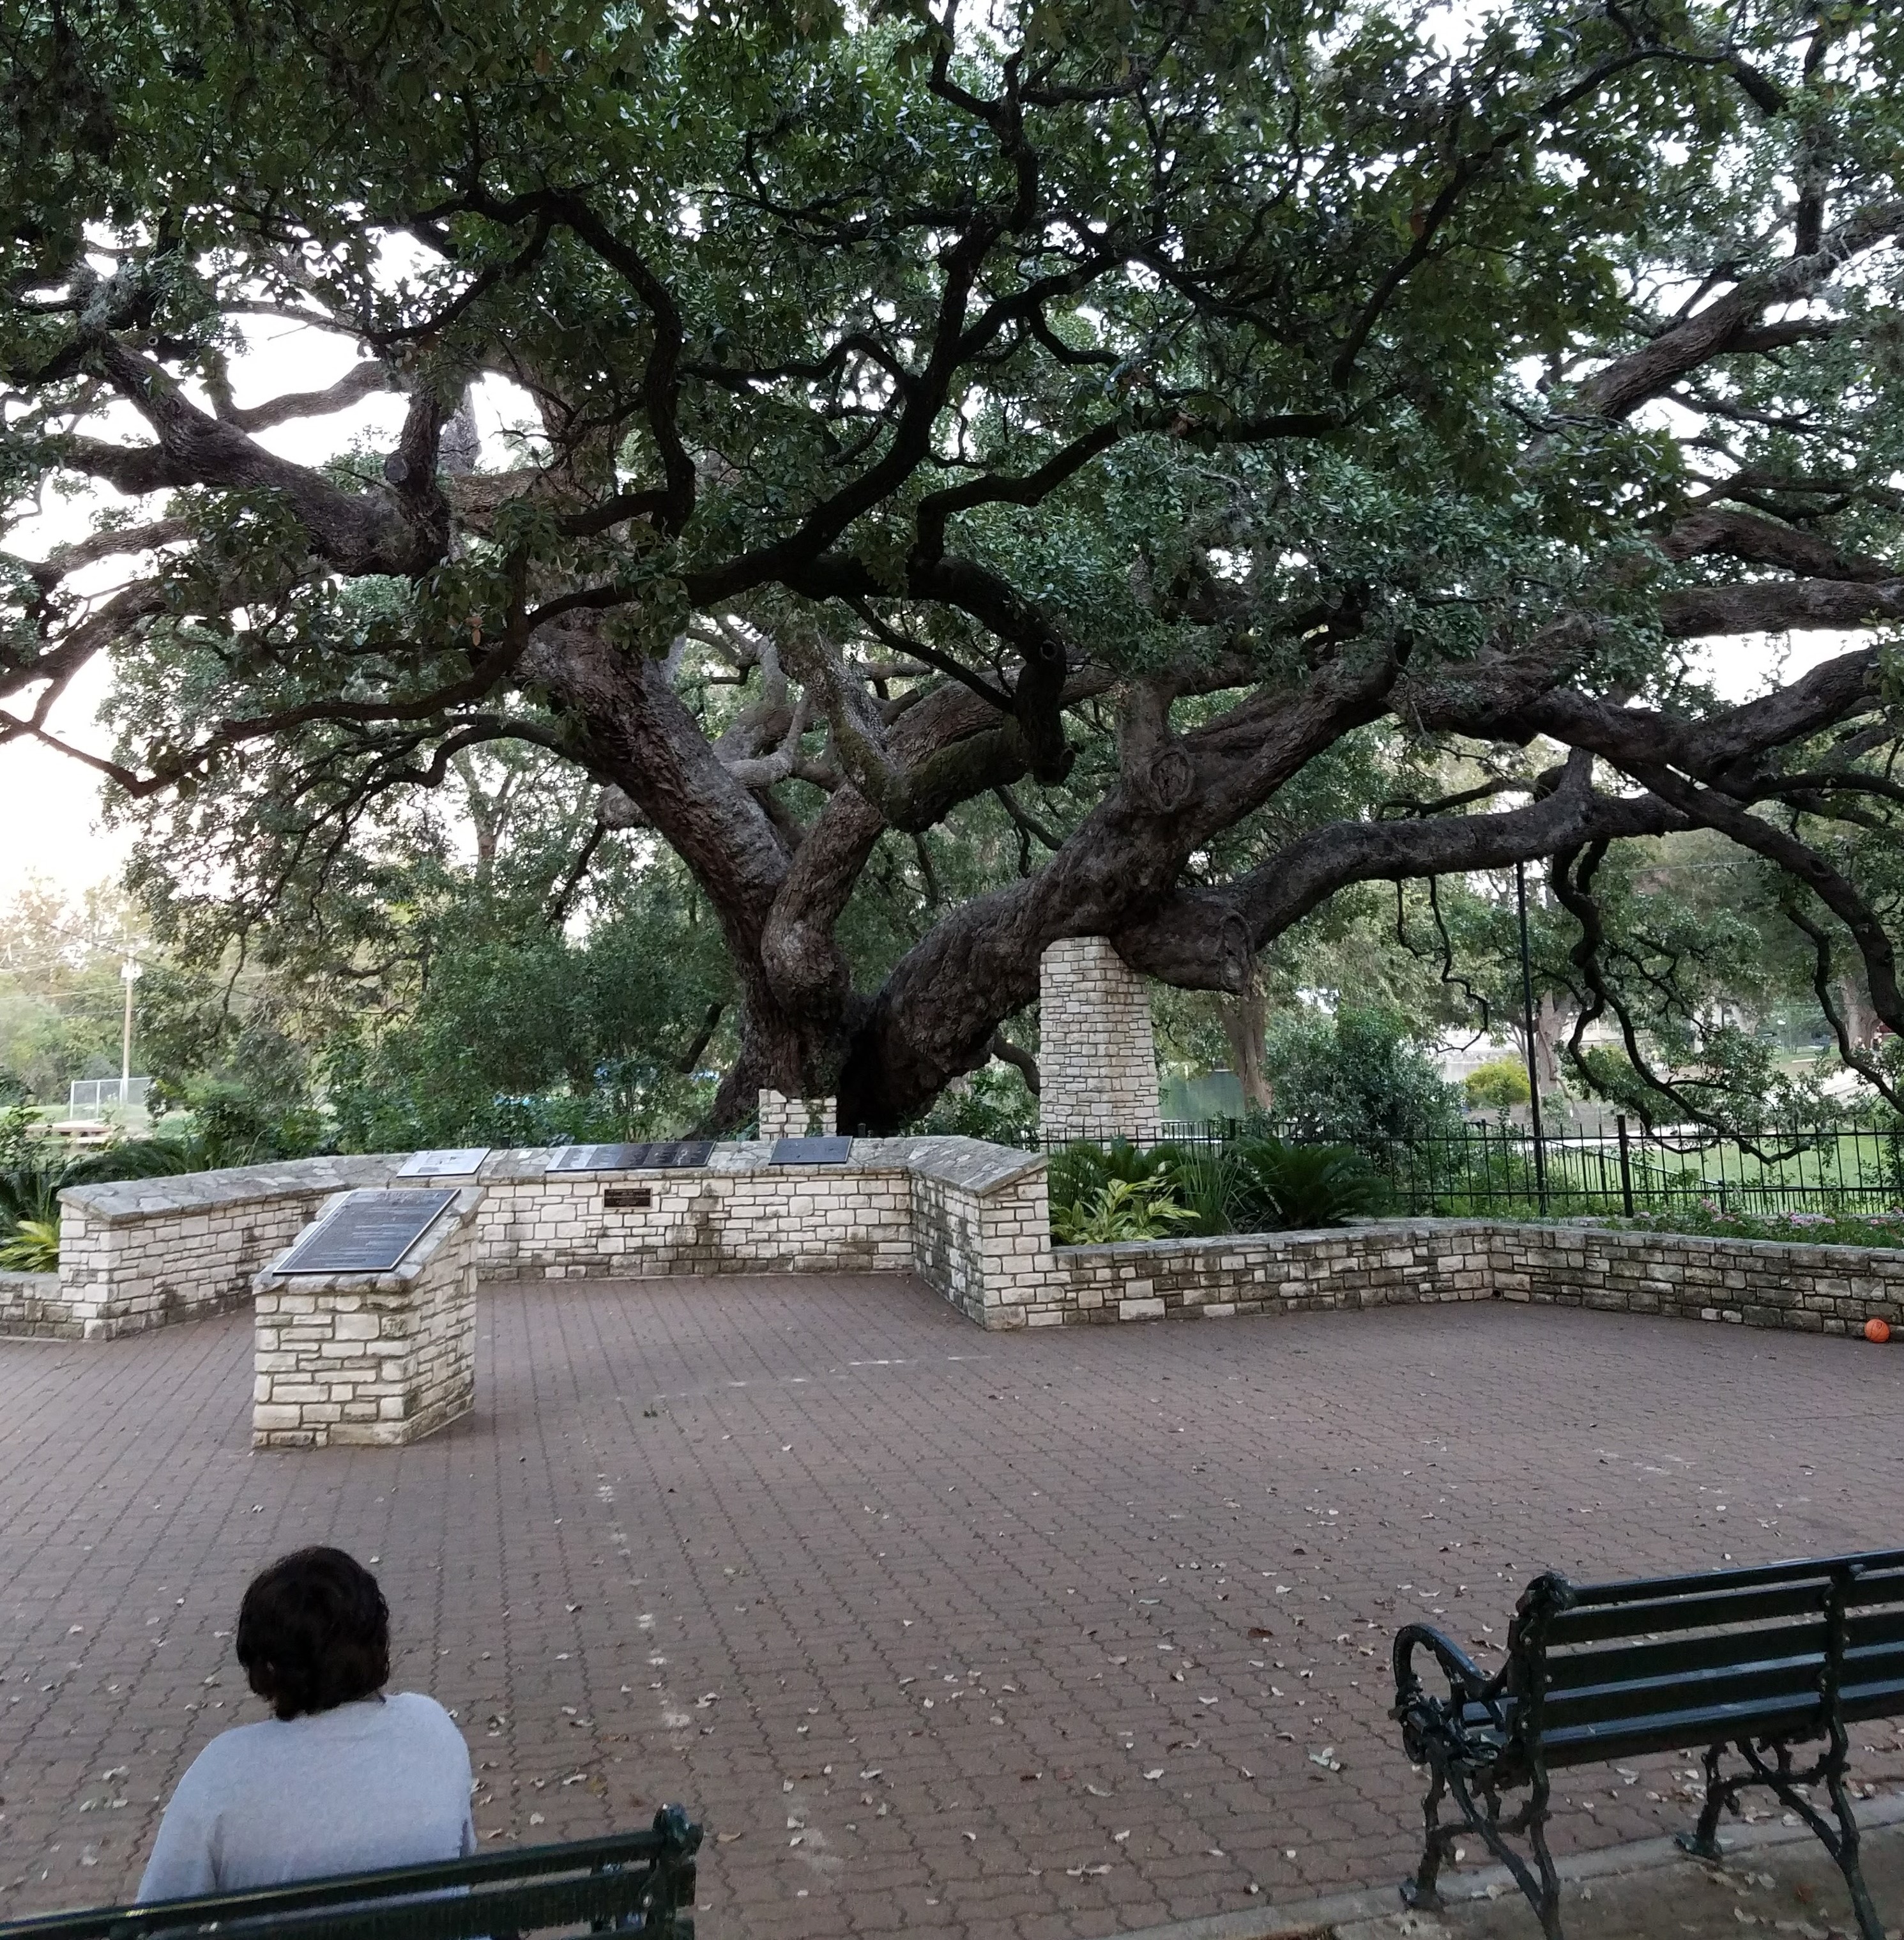
Hunting for seeds can be a lot of fun! It’s just like hunting for a tree to dig out of the ground for bonsai - there is a treasure to be found! My family and I actually went out of our way to collect acorns from legendary live oaks here in Texas. Another interesting note about seeds - they are all genetically different from each other, just like you and I. You’ll be surprised about the different characteristics you’ll find in your seedlings as they grow.
 Photo by Roland Lopez | @hawkeyebonsai_dharmawolf
Leaf size, leaf shape, internode lengths and fall color are all dependent on a particular seeds genetics. I find that awesome in and of itself!
Ordering Seeds
 Photo by Roland Lopez | @hawkeyebonsai_dharmawolf
Another route to try is ordering your seeds from a reputable seller online. I usually order the seeds in Autumn. By the time spring rolls around and temperatures become warmer, the seedlings will be ready to acclimate to outside conditions. You can start your seeds at other times of the year, just be sure to plan how your seeds will receive the proper care they need if they cannot be put outside due to cold weather.
 Photo by Roland Lopez | @hawkeyebonsai_dharmawolf
When you order your seeds, they should, hopefully, come with a list of steps to follow.
Photo by Roland Lopez | @hawkeyebonsai_dharmawolf
When you order your seeds, they should, hopefully, come with a list of steps to follow.
Scarification/Stratification
The first step usually consists of soaking your seeds for 24 hours in tap water. This pretreatment is called scarification. Photo by Roland Lopez | @hawkeyebonsai_dharmawolf
This simply means that you are softening the hard outer coat of the seeds, which provides protection to the embryo inside of them. When the protective coat breaks down, water is allowed inside of the seed to begin the germination process.
 Photo by Roland Lopez | @hawkeyebonsai_dharmawolf
If you don’t soak your seeds, they may not “wake up” at all, or they may take a long time to get started. After 24 hours in the water, it’s time to stratify the seeds. Stratification is a method used to simulate a winter. These seeds need a specific amount of time in moist and cold conditions to activate them from dormancy. You can sow them outside if you’d like, but here in Texas, our winters aren’t reliable enough to give some seeds the cold they need all winter long. That’s why I put mine in the refrigerator. I also find this more convenient than putting them outside to start them. Some seeds stay in the fridge for 30 or 60 days.
 Photo by Roland Lopez | @hawkeyebonsai_dharmawolf
Some require 90 or more days of cold. Some seeds require a warm stratification period as well, prior to cold stratification. I have had success with seeds that only require a cold stratification. I haven’t had success with seeds that require both warm and cold stratification ...yet.
Fridge Prep
Before you put your seeds in the fridge, you need to provide them with something that retains moisture. If the seeds are big or jumbo sized like an acorn, I’ll just toss them in a plastic Ziploc baggie with dampened peat moss, sand, or anything that holds moisture for a long period of time. For smaller seeds I find folding them up in a damp paper towel or coffee filter and placing them in a plastic Ziploc baggie works great!
 Photo by Roland Lopez | @hawkeyebonsai_dharmawolf
They are easy to see and check up on. You can also use jars instead of bags to store seeds and the medium to stratify them. When adding water to your moisture retaining medium, be sure to wring out any excess water. Too much water equals rot! While your seeds are incubating in the fridge, be sure to check up on them at least once a week. Feel the medium with your fingers and be sure that it is kept damp. Not wet - DAMP! It’s also good to allow fresh air in the bags or jars when you check on them. Label the containers with the date and species name and put them in the fridge somewhere they won’t be disturbed. Now, you wait! Set a reminder on your phone so that you don’t forget to inspect the seeds. After the alloted time or when you see your seeds germinating in the container already, it’s time to sow them in some soil!
Add Soil
Personally, I buy seed-starting mix for this part, but you can make your own soil if you wish. Make sure the soil is sterile or you risk the lives of your future bonsai!
 Photo by Roland Lopez | @hawkeyebonsai_dharmawolf
Fill up some seed starting cells or whatever containers you will be using and sow the seeds.
 Photo by Roland Lopez | @hawkeyebonsai_dharmawolf
Sanitize the containers if they were used previously with a 1:10 ratio mix of bleach and water. Keep in mind the appropriate depth you are planting the seeds so they don’t have to work as hard to break the surface of the soil. Big seeds need to be planted deeper, so keep that in mind. Try using styrofoam cups or something similar for big seeds, like acorns. If the seeds are on the smaller side, almost any container will do. I’ve used washed out plastic chinese food containers or sour cream tubs for example, with holes made in the bottom.
Add Water
Once the seeds are carefully placed in the soil and covered, tamp the soil lightly and water with a gentle stream from a watering can or something similar that won’t disturb the soil too much or wash the seeds out of the containers. Make sure the soil is completely soaked and water is running out of the bottom of the containers.
 Photo by Roland Lopez | @hawkeyebonsai_dharmawolf
Now you wait some more! Continue to check on them and let the soil dry out a little before watering again. You don’t want the soil to become bone dry, just slightly dry. Soon, you will start seeing the tiny little seedlings pushing their way out of the soil! I love this part!
 Photo by Roland Lopez | @hawkeyebonsai_dharmawolf
Add Leaves
Soon, you will see tiny leaves starting to show. These tiny leaves are called cotyledons. Cotyledons are the first leaves to emerge from your baby trees, but are not their “true leaves.”
 Photo by Roland Lopez | @hawkeyebonsai_dharmawolf
These cotyledons will look different from the actual leaf shape of your chosen tree species. Once the cotyledons are out, put them under a grow light of some kind. I’ve tried two different types of grow lights with success. One is a T-5 fluorescent type bulb which emits a bright, white light.
 Photo by Roland Lopez | @hawkeyebonsai_dharmawolf
The other is a red and blue bulb that throws out ultraviolet light. I have enjoyed the T-5 light more because of the amount of seedlings I can fit under it. The frame for the fluorescent light also has an awesome feature which allows me to raise the light as the seedlings grow taller. When placing the seedlings under the light, I make sure to set the light at about 2 inches above the seedlings at all times. If the light is too far away from the seedlings, they will stretch towards it, making them long and leggy plants. We don’t want that! Plants that are long and spindly have a difficult time supporting themselves and have a slimmer chance to thrive when put outside. Let’s give them all the light they need!
 Photo by Roland Lopez | @hawkeyebonsai_dharmawolf
Your seedlings will love 12-16 hours of light daily. My light goes on at noon and shuts off 12 hours later. This schedule has worked well for me. I also keep a fan blowing on my seedlings throughout the day. This will prevent any moisture from staying on the stem or leaves of the seedlings, preventing “damping off”. Damping off is a horticultural disease caused by pathogens that kill seedlings if they are too wet and cool. The fan is set on oscillate at a low speed and runs periodically throughout the day and night; it turns on every half hour or so. I have both the fan and light plugged into timers on a powerstrip.
 Photo by Roland Lopez | @hawkeyebonsai_dharmawolf
Peel Those Eyes
While your seeds are under your care inside, be sure to keep an eye on them for water. If the surface of the soil is dry and looks lighter in color, it’s time to water. The best way to water the seedlings is from the bottom. Watering from the bottom reduces the risk of damping off disease.